 Shrimp
 Fish
Fish Crab &
 Plants
 Foods
Foods Snails
Setting up a shrimp aquarium | Full guide | Shrimp 101
Looking to set up your first shrimp aquarium? Awesome! Even if you’ve never had an aquarium before, a shrimp tank is the perfect choice. Here at The Shrimp Farm we’ve got years of experience keeping and breeding freshwater ornamental (dwarf) shrimp, so we’re happy to explain the basics to you and share our enthusiasm for the hobby.
Keep reading for a full Shrimpin’ 101 guide to setting up a shrimp aquarium!
Table of Contents
What do I need?
Once you’ve decided to go for it, it’s time to start gathering the equipment needed for a thriving tank. What are the essentials you really can’t miss?
- Aquarium. We recommend a tank that’s at least 5 gallons in volume, preferably even 10. The bigger, the easier it is to keep water parameters stable!
- Filter. Although not all shrimp tanks require a filter, we strongly recommend using one if you’re a beginner. A simple sponge filter can be enough.
- Heater. Not technically a must either, but a small thermostat heater can prevent dangerous swings in water temperature.
- Thermometer. You need to be able to know at all times whether the water temperature is in order.
- Light. Your shrimp need a day-night cycle! Proper lighting is also important if you’d like to grow aquarium plants beyond the very basic species. Many aquariums come with a built-in lamp in the hood.
- Water conditioner. Unless you live in a place where tap water isn’t chlorinated, you’ll need this to make it safe for shrimp.
- Substrate. Our absolute favorite choice would be coarse black aquarium gravel. The dark color makes the shrimp pop and the coarse grain prevents clogging.
- Water test kit. Liquid tests for at least ammonia, nitrite, nitrate and pH are a must for happy shrimp.
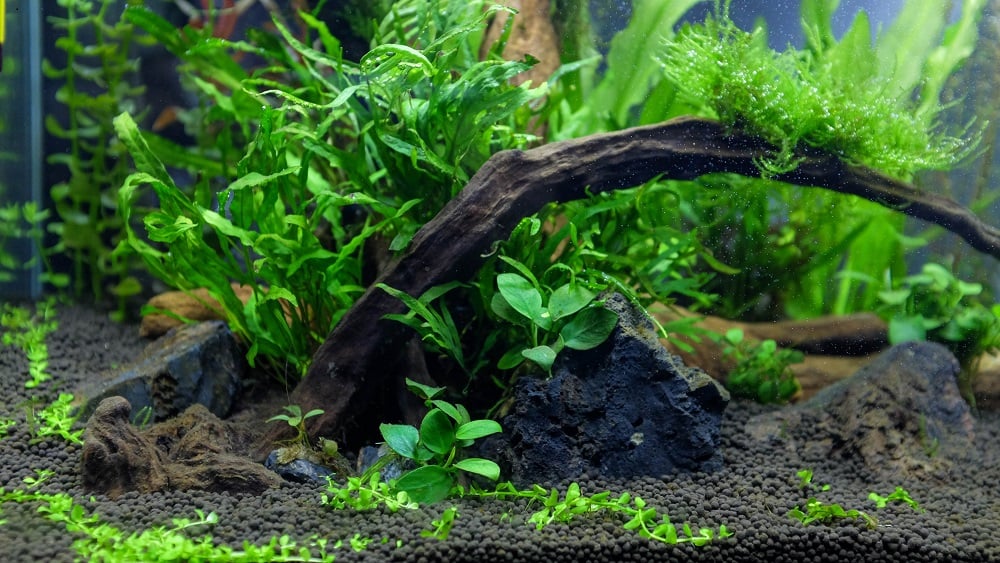
- Décor. Shrimp need plenty of hiding places to feel safe, so add lots of live plants, rocks, driftwood, shrimp flats and tubes.
- Cleaning equipment. An algae scrubber, bucket and some tubing are very useful.
As you progress, you’ll realize that there is a vast array of aquarium equipment out there, enough to make your head spin. For now, though, these basics are all you need to get started.
Setting up the aquarium
Once you’ve gathered all your materials, it’s time to get started. Find a sturdy spot to place the aquarium; it’s a hassle to move it later, so choose wisely. Then just follow the steps below to get everything up and running.
- Unless it’s pre-washed, rinse your substrate to prevent dust clouds. Then spread a layer of substrate up to an inch thick on the bottom of the tank.
- Most aquarists find it preferable to place their rocks and driftwood in the tank now, if they’re using any.
- Prepare enough conditioned water to fill up the tank. It helps to gently pour it on a plate placed at the bottom to prevent things from flying everywhere.
- Install the filter and heater according to the instructions on the box and turn them on. Don’t turn them off ever, except when you’re doing a water change.
- Plant your aquarium plants if you’re using any. A pair of long tweezers can be helpful here.
- Follow the instructions provided in the paragraph below on the nitrogen cycle.
The tank can look a bit cloudy at first, but don’t worry, it’ll settle. Now sit back and relax, because it will be a few weeks before you can introduce the first shrimp into your aquarium!
The nitrogen cycle
It’s the bane of every aquarists’ existence: the mandatory waiting period between filling up a tank and introducing the livestock. This gap is due to the fact that your aquarium has to cycle, during which time the water turns from highly toxic to shrimp to fully established and safe.
We cannot emphasize it more: DO NOT skip this step. An uncycled aquarium will kill your shrimp, and no one wants to start off like that. Carefully follow the instructions in the article on starting a fishless cycle. Basically, you will be dosing pure ammonia, which kickstarts a cycle that looks like this:
- High levels of toxic ammonia (NH3/NH4) cause beneficial bacteria called Nitrosomonas to multiply in the filter sponge and substrate.
- Nitrosomonas convert ammonia into toxic nitrite (NO2), which causes beneficial bacteria colonies called Nitrobacter to appear as well.
- Nitrobacter convert nitrite into nitrate (NO3), which is less toxic and can be removed through water changes.
- The aquarium is now considered cycled. Beneficial bacteria colonies are present that work in conjunction with your efforts (through water changes) to keep the tank free of toxic waste compounds.
You’ll be tracking this cycle using your liquid water test kit, ensuring that you know what’s going on in the water. It all sounds a bit complicated at first, but it’s pretty fascinating!
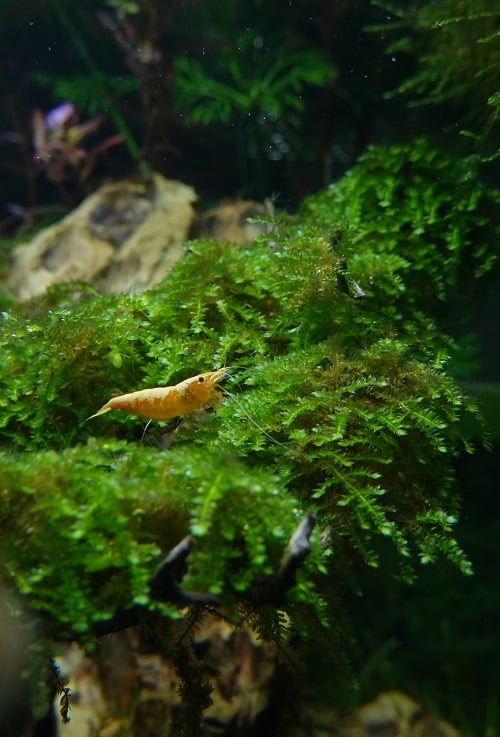
Choosing your shrimp
Because the nitrogen cycle takes a few weeks to establish, you’ve now got plenty of time to figure out what kind of shrimp you would like to keep in your aquarium. There are loads of colorful species, but keep in mind that there are quite a few that we wouldn’t recommend to beginners. Some are very fragile.
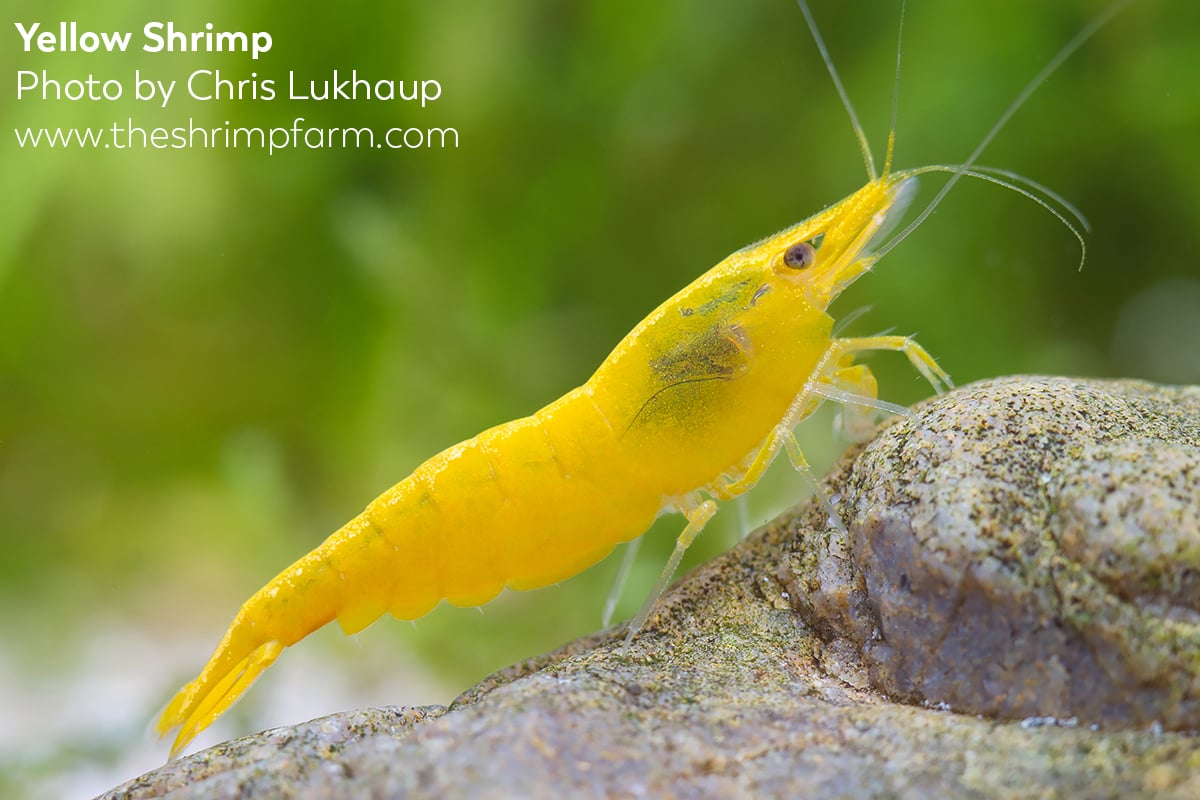
Our favorite choices for those just starting out include the many different varieties of Neocaridina davidi (including the ubiquitous cherry shrimp), Caridina japonica (the Amano shrimp) and Palaemonetes sp. (the ghost shrimp). These species don’t need specific water values and can usually handle the occasional beginner slip-up. You’ll want at least 5 shrimp to start with. With dwarf shrimp, it’s common to start with a colony of 10.
Shrimp maintenance
You can find care information for pretty much any type of shrimp in our care guides section, but let’s quickly go over the basics here. The most important thing to keep in mind is that shrimp can be fragile and they need stable conditions. You should never do anything drastic with your aquarium.
You can feed a piece or two of high-quality shrimp food daily. Be sure to remove any uneaten bits after a few hours to prevent them from spoiling the water. Do a water test and a small water change on a weekly basis, scrubbing algae if there is a bothersome amount. A deep aquarium cleaning can be performed once every few months.
If you keep dwarf shrimp like Neocaridina and you bought adults, you should start seeing the first pregnant females soon. Congratulations! You’ll be a shrimp grandparent within 30 days. The babies need no special care, just nice clean water.
FAQ
No. Unless your tap water is of very low quality or you’re planning on keeping very sensitive shrimp species that require reverse osmosis water, you’ll be fine with just a water conditioner in most locations.
Most species don’t like things too toasty. Technically 65–85 °F works, but we prefer to stick to the lower end of that range.
Yes, just avoid combining different color varieties of the same species if you want to keep the lines pure. They can interbreed, which will eventually lead to muddled brown offspring. One combination we see frequently is some kind of dwarf shrimp, like Neocaridina davidi, along with a few Amano shrimp.
There are a few fish species that won’t eat shrimp, but remember to keep them in mind from the start — you'll likely have to get a bigger aquarium than if you just wanted to keep shrimp. The easiest shrimp tankmate choices are actually other inverts, especially snails.